This year The Artist Guild of Lockport has turned the annual Holiday Art Show into a family exhibit so both kids and adults can submit artwork. Which means I get to participate in the show along with my niece and nephew. And my sister is also joining in the fun for her first-ever gallery show too which I am so excited about.
We all decided we would create shadow box pieces and would base them on a Christmas Tree. I love it when we all do variations on a specific theme as I get so much inspiration from the kiddos.
The frames were purchased from Michael’s and are 11”x14”.
My sister had recently gotten a Cricut Maker machine for her birthday so together she and I created a tree design that had cutouts specifically sized to hold the LED lights we were going to use to light them up within the shadow box.
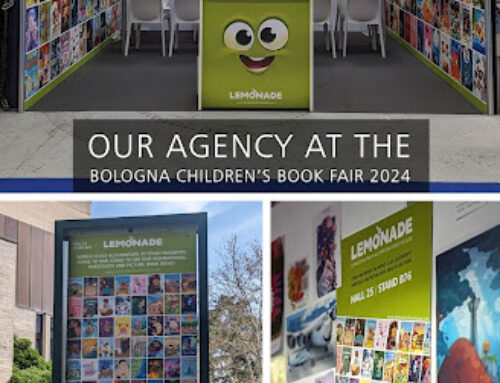
My 11yo niece, an avid horse rider, wanted to go with a horse theme and named her piece Winter in the Country. My 7yo nephew decided he wanted to put deer around his tree and named his piece Christmas in the Forest. And off they went painting and creating. They painted the animals with acrylics on illustration board. My niece also included a barn crafted from wood pieces she then painted with a watered-down acrylic to give them a worn weathered barn look, isnt it neat!
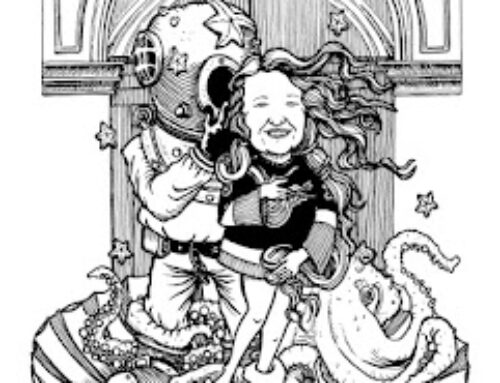
My sister made her tree larger and turned her frame vertical, she then added some fancy crystal drops of snow on the backdrop, shimmering beads and a sparkling swarovski crystal star topper to her elegant tree.
Didn’t they all turn out great? I am so proud of all of them.
Winter in the Country by MacKenzie Mitchell 
Oh Christmas Tree by Cheryl Mitchell 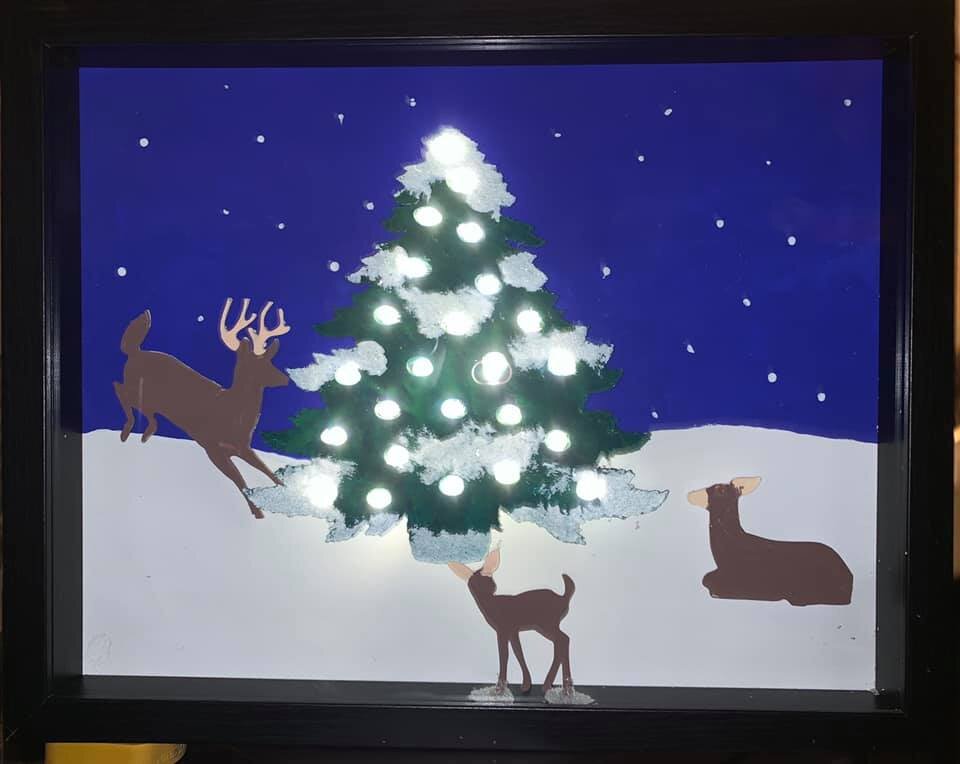
Christmas in the Forest by Decklyn Mitchell
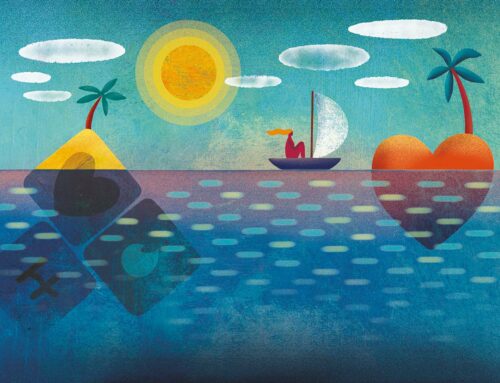
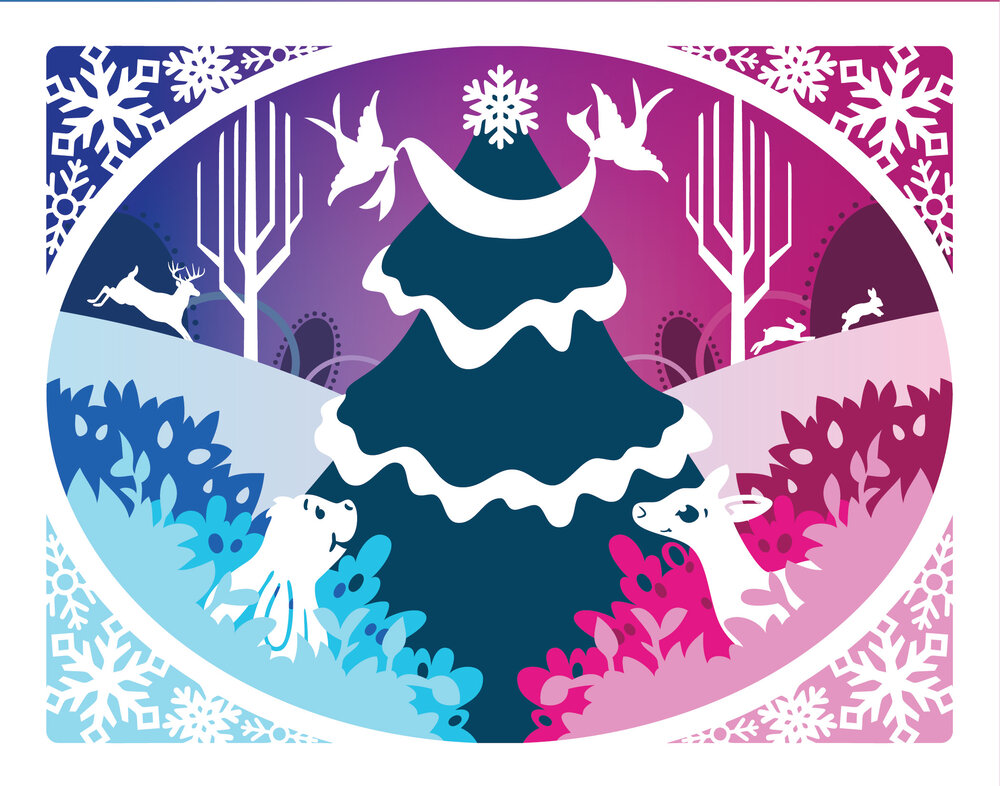
After seeing the Cricut machine in action my mind was racing with ideas for how I could bring to life a concept I had digitally created for my Christmas cards a few years ago. At the time I had made it look as it if were a layered paper cutout effect and now perhaps I could make something like that out of paper. For the color scheme, I was really drawn to a piece of Frozen 2 concept art by Britney Lee, with the saturated pinks and blues. And I was also inspired by the deer scene my nephew created. That was all I needed and off I went.
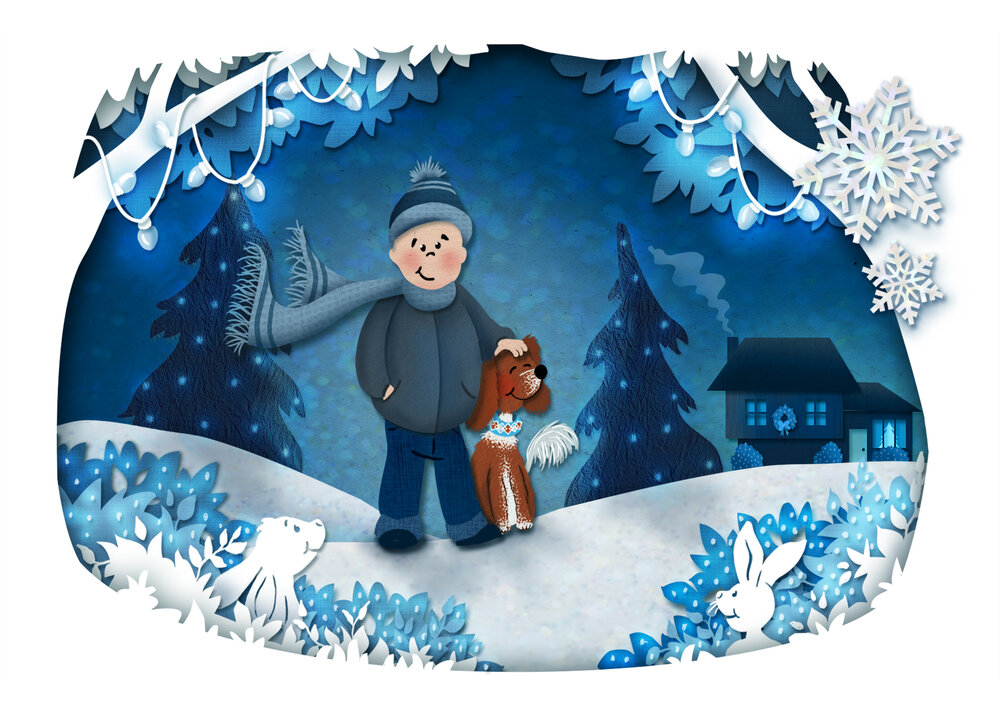
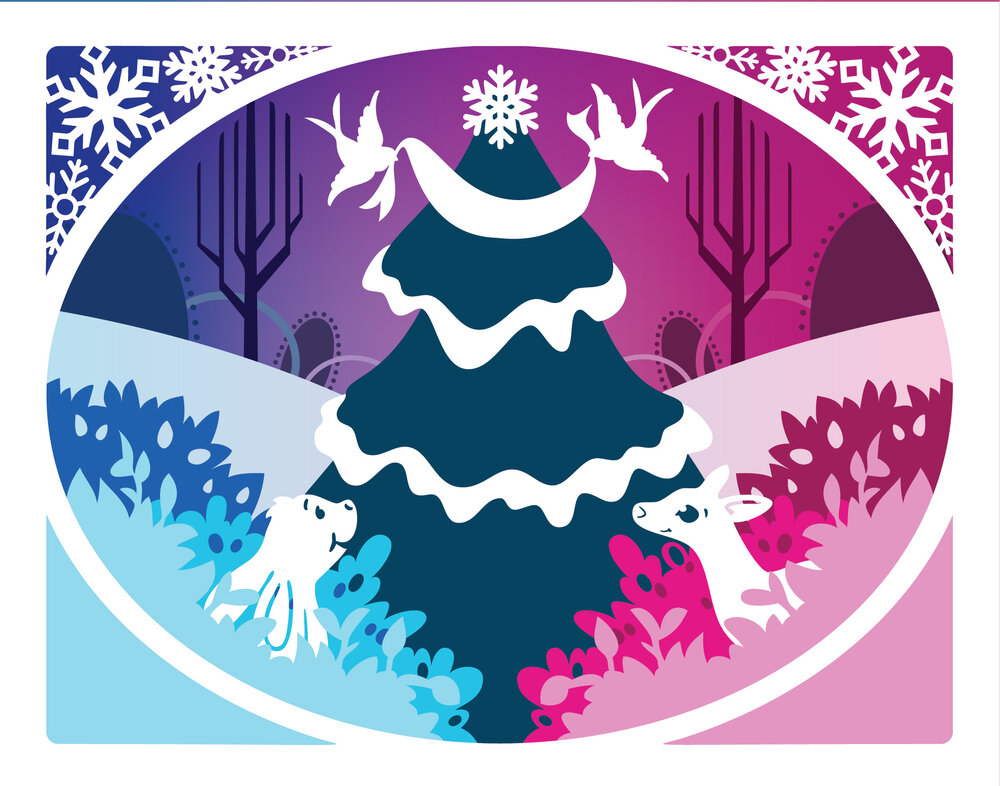
Digital Art – Christmas Card design 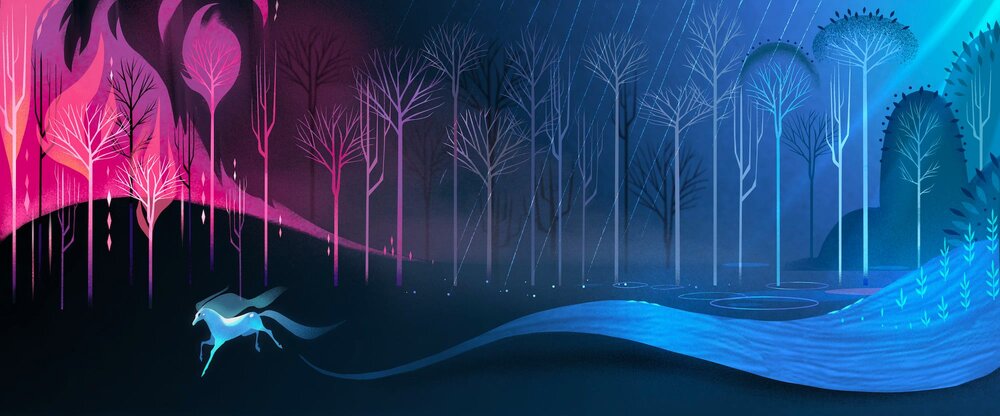
Frozen 2 concept art by Britney Lee
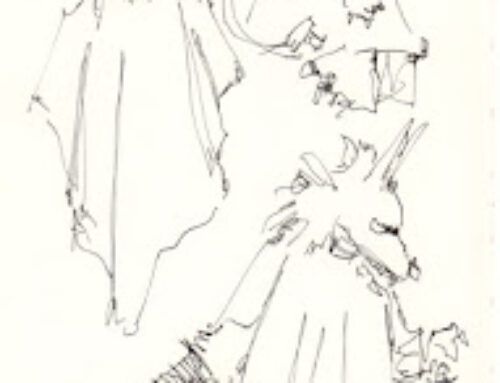
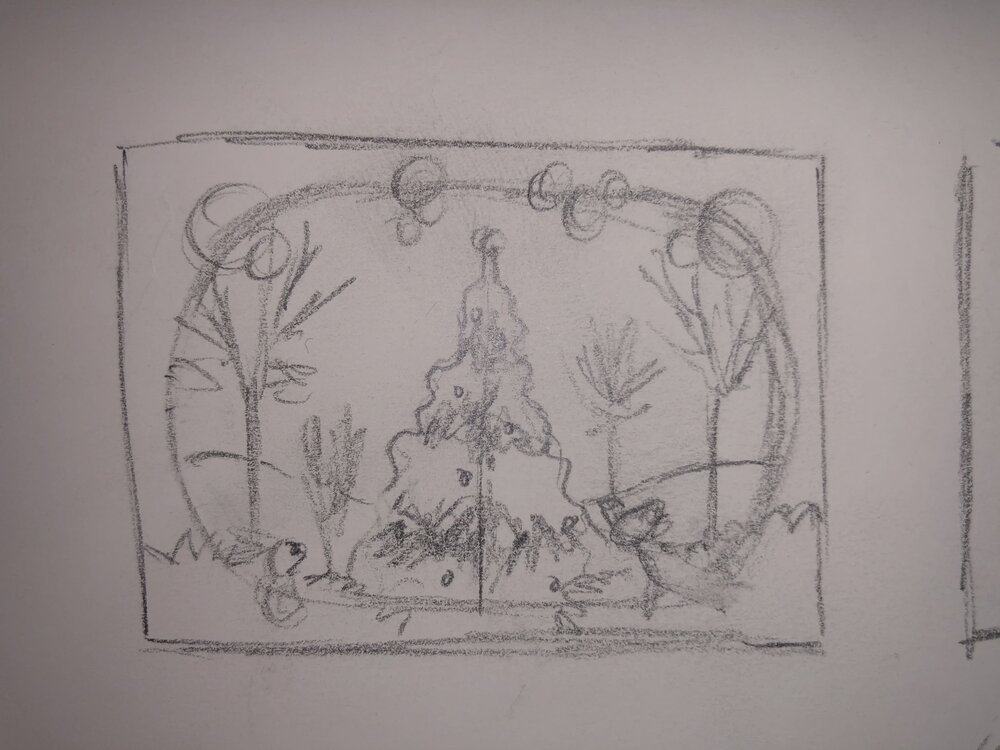
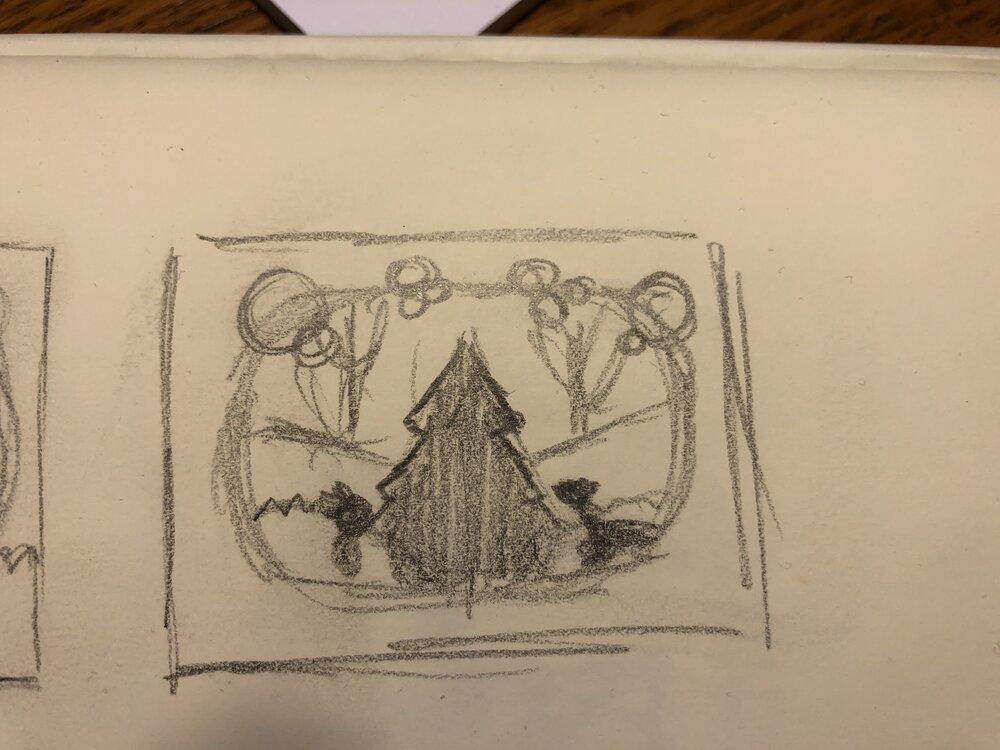
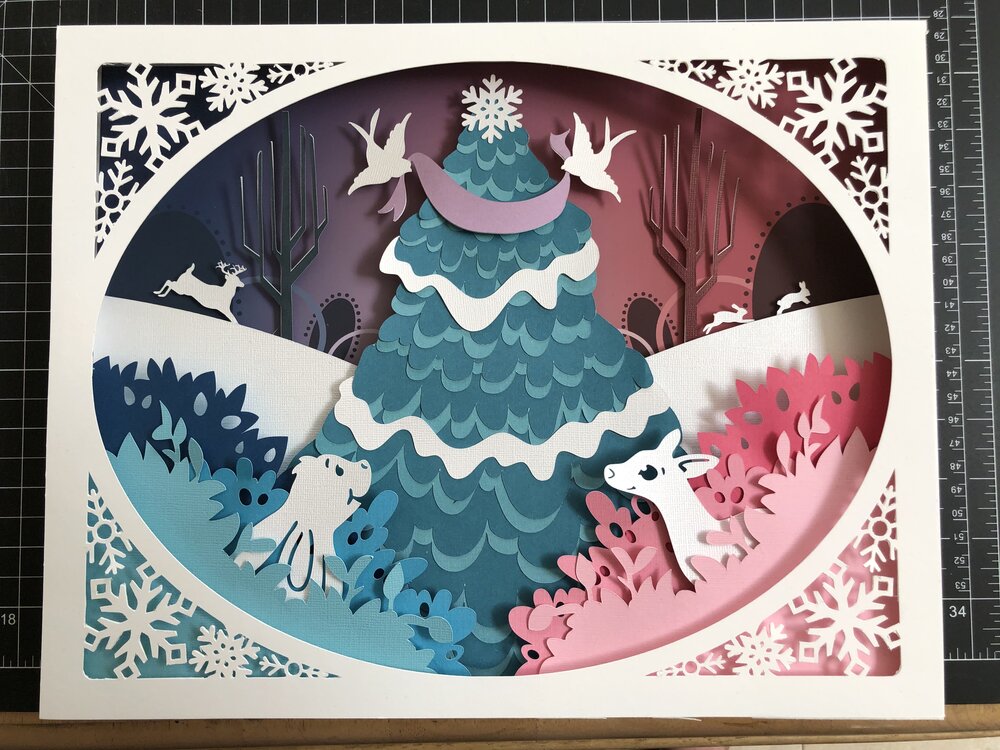
My first step is always to do really small rough concept sketches just go get an idea of the shapes/sizes and placement of keep objects. In these thumbnails I have the tree as the focal point and then I wanted to use that bunny in the lower left of my Christmas card on one side and put a young deer on the other side (inspired by my nephews piece with the deer in the forest). Often times when designing an illustration doing everything centered and symetrical is not desired, but in this case that balance and play between blue and pink felt best to me with the tree centered into the scene.
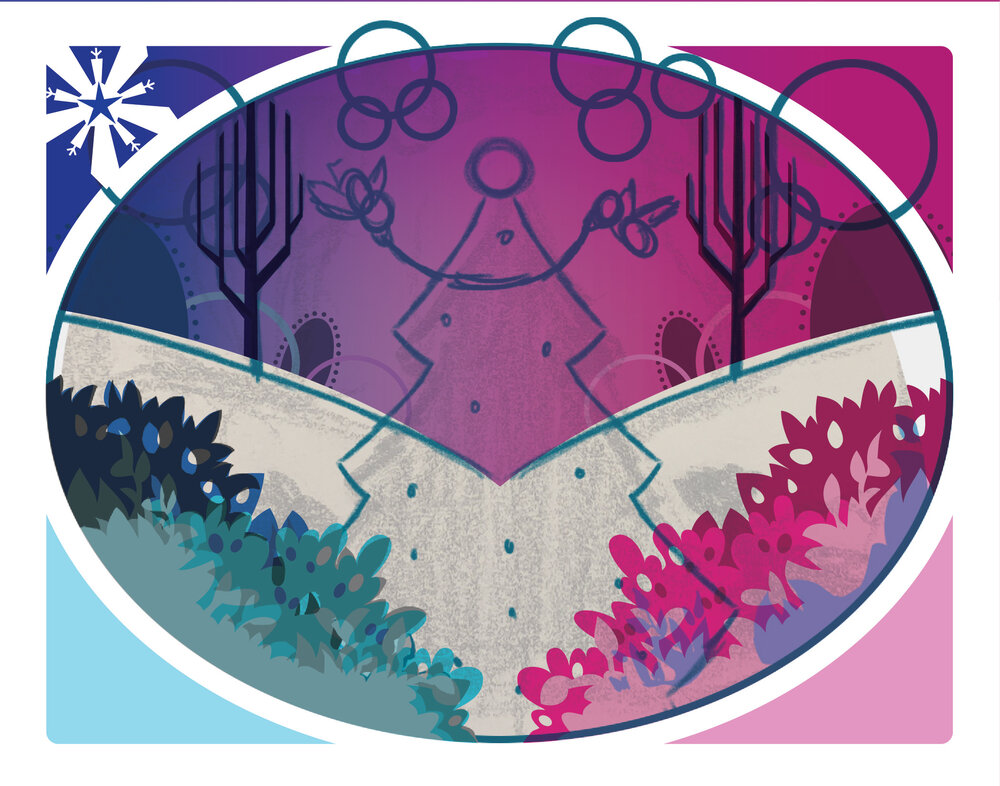
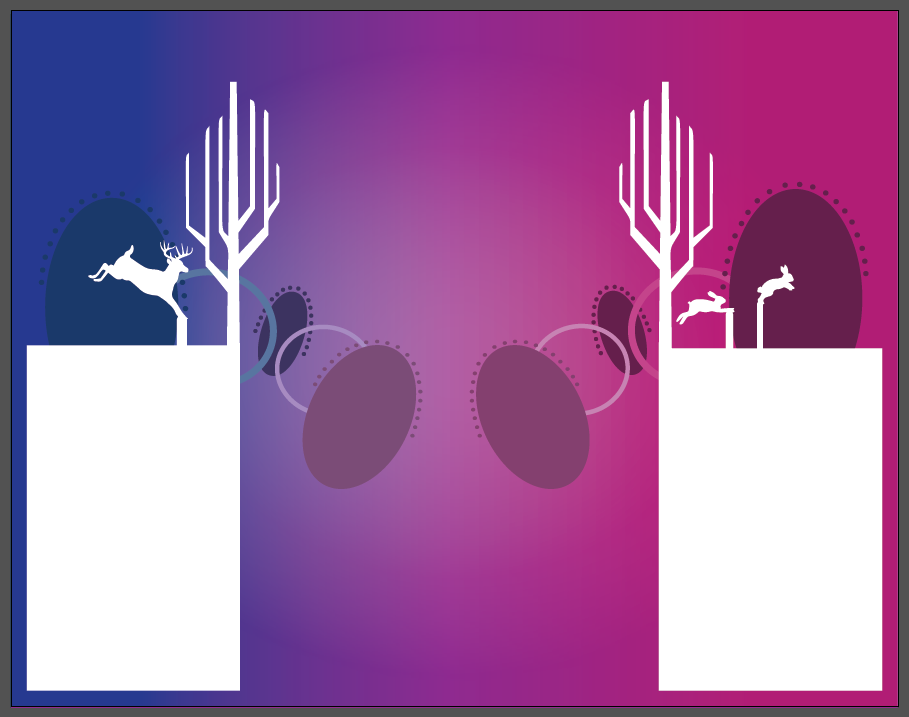
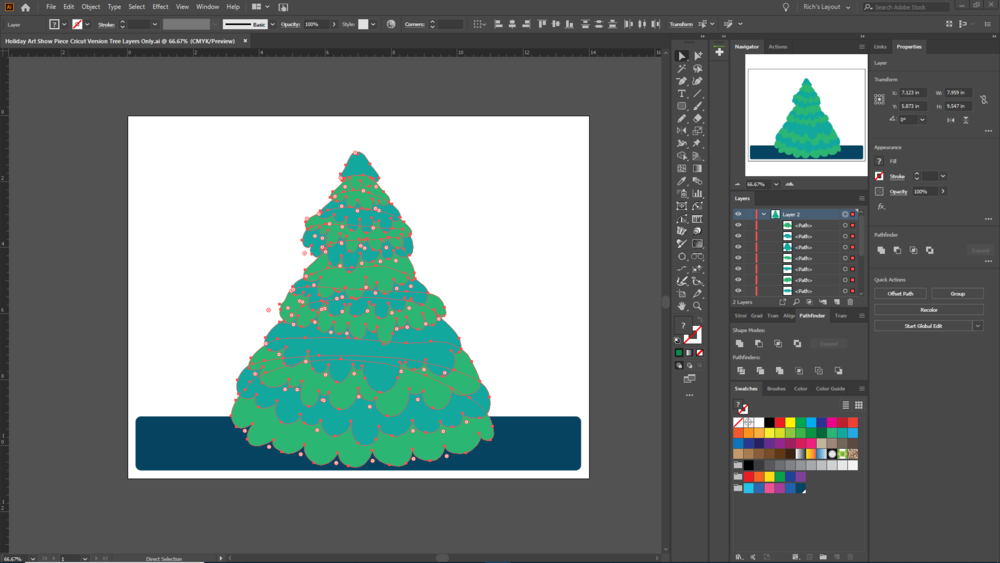
Then I took that rough sketch and color concept into Adobe Illustrator and I began to build out the shapes, layers and details. It was fun to think about this existing in 3D space and layering it accordingly.
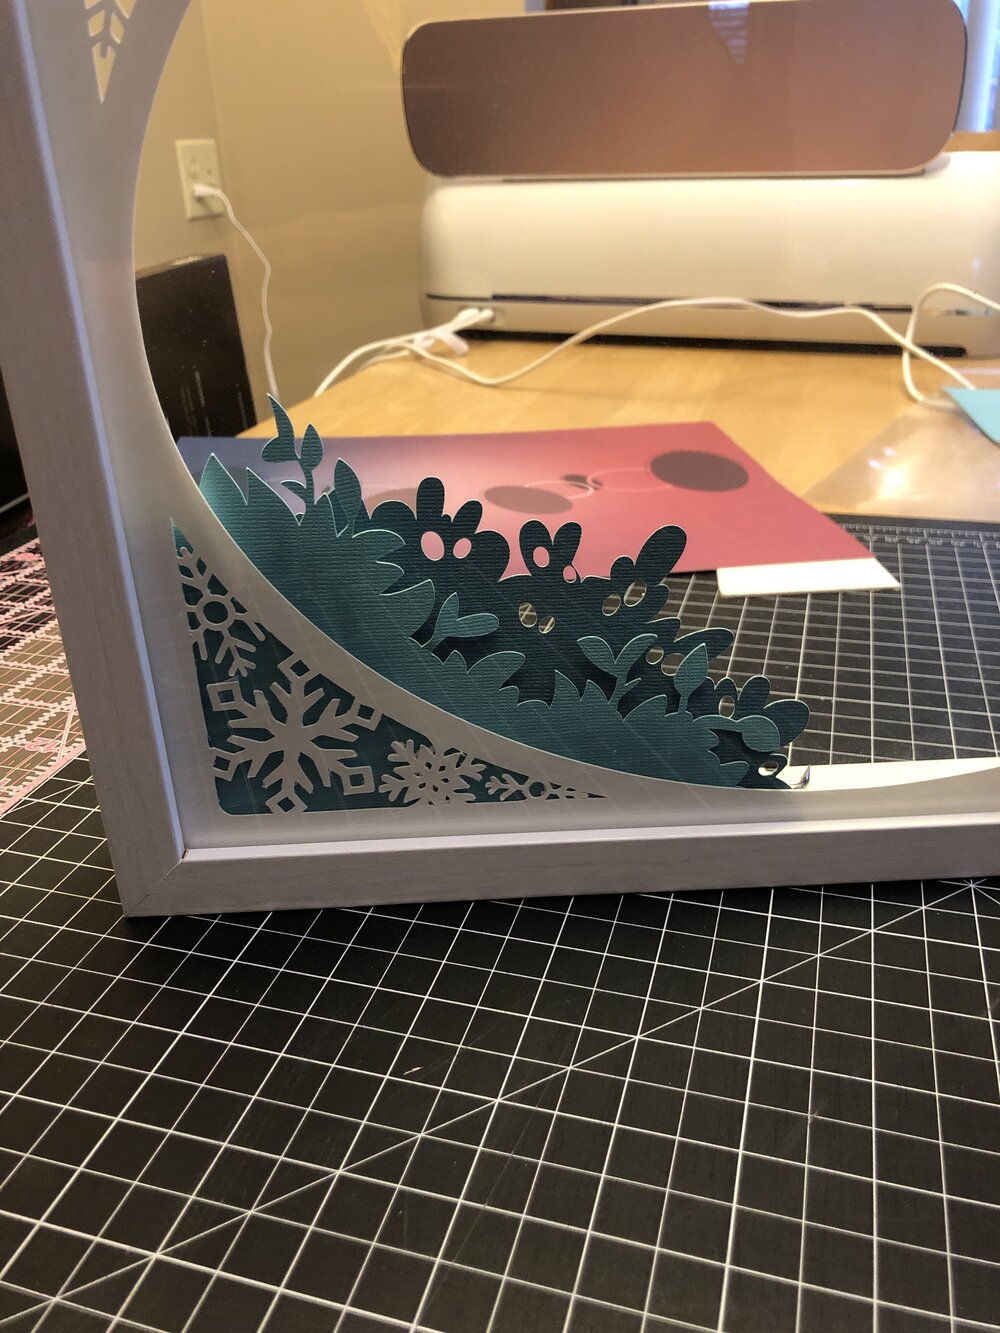
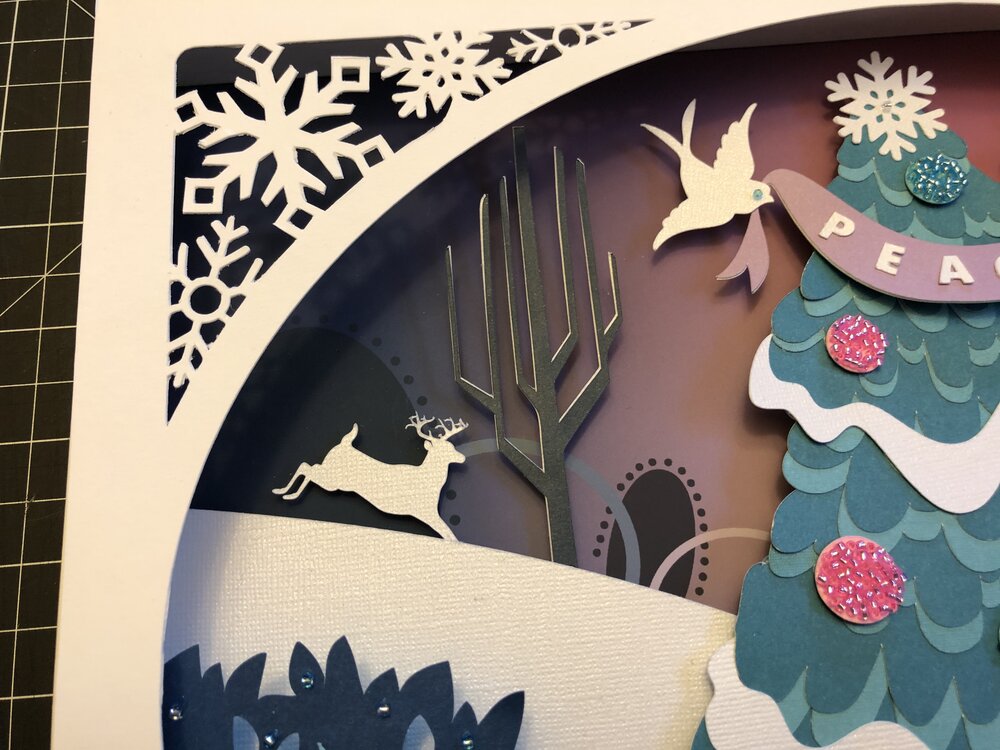
As I was working I kept imagining that I was designing this as a scene for a holiday window at Macy’s. (What a dream job that would be). With that thought lingering in my mind I took that framed oval concept and made it more elaborate with the snowflake cut outs around the edges. Took a few different attempts to come up with a variety of snowflakes that worked just right in the space available.
For those not familiar with Adobe Illustrator you are building shapes/objects using points and outlines. Below is what the artwork looks like with only the outlines of all the shapes showing.
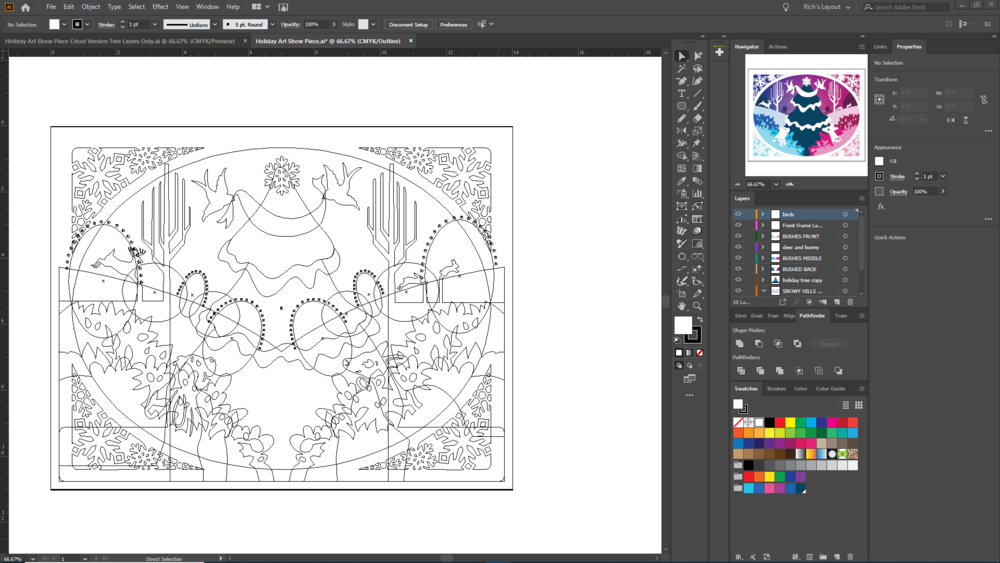
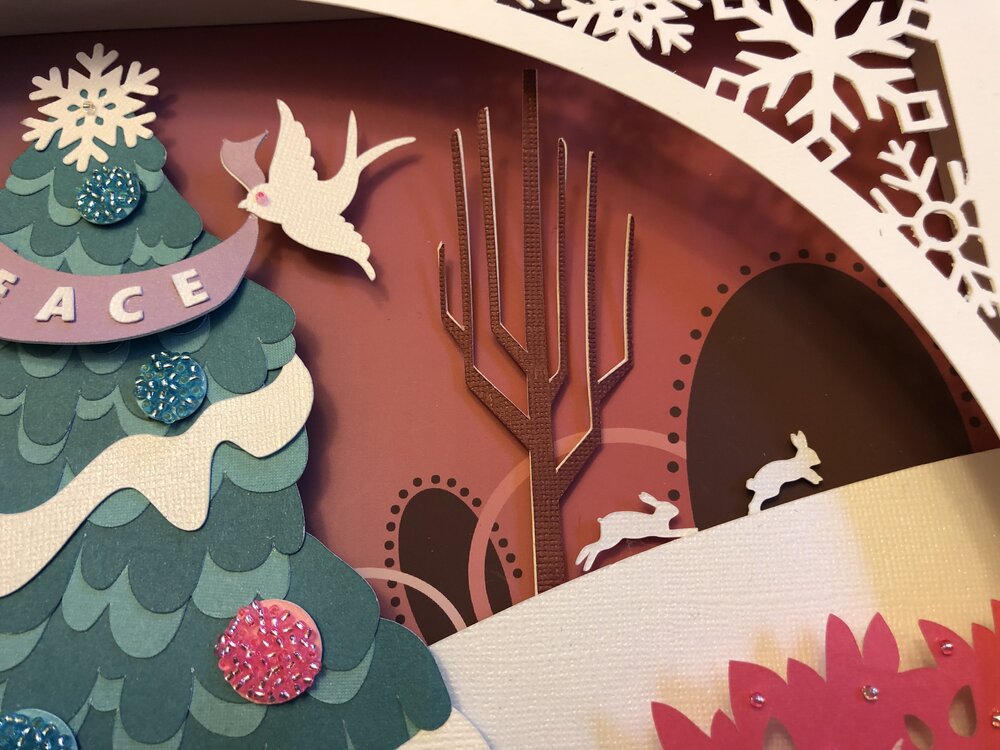
I also had to consider how the pieces would layer and how detail like the buck dashing through the snow and the bunnies chasing each other along the hill would be supported since they are so small and delicate. So this was not just about visual design but also about the mechanical design as well. You can see below the deer and bunnies are supported by pieces that would be glued behind the snowy hills.
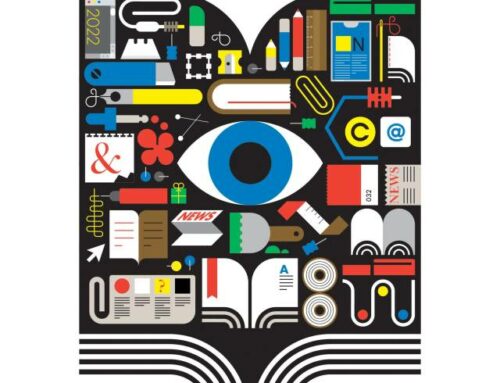
Once the artwork was completed in Adobe Illustrator, I learned that saving it off as an SVG file format would allow it to open with all of the layers in the Cricut Design Space which was really great. I was borrowing my sisters Cricut and this was my first time using it and I found it very easy to work with given my digital art background.
Below you see how the art looked when imported into Design Space – it had even been separated by the main colors used for each of the pieces/layers. And I love how when you say “Make It” it separates everything out to cut by color and organizes pieces to get the most of out each sheet of card stock.
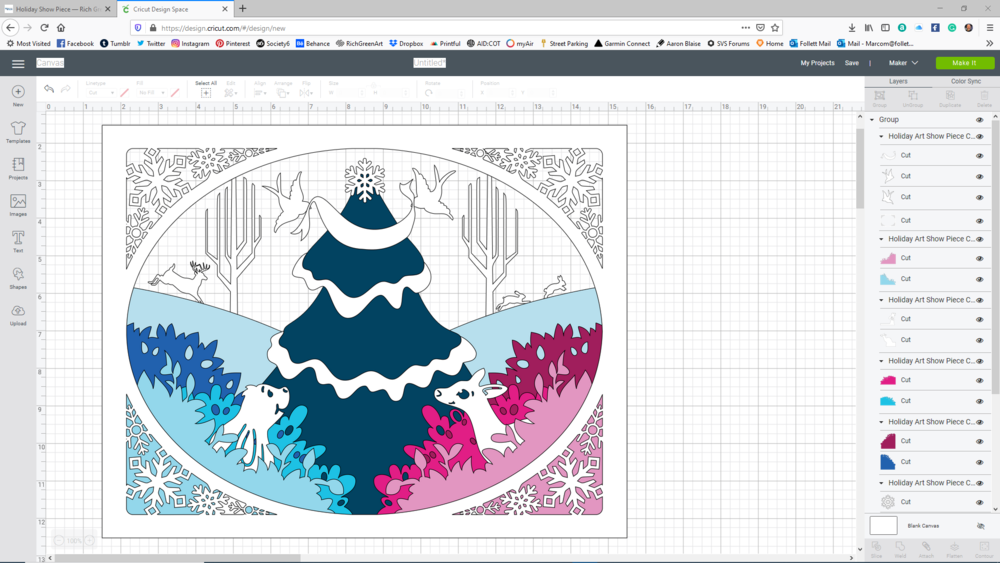
Cricut Design Space after importing svg file saved from Illustrator
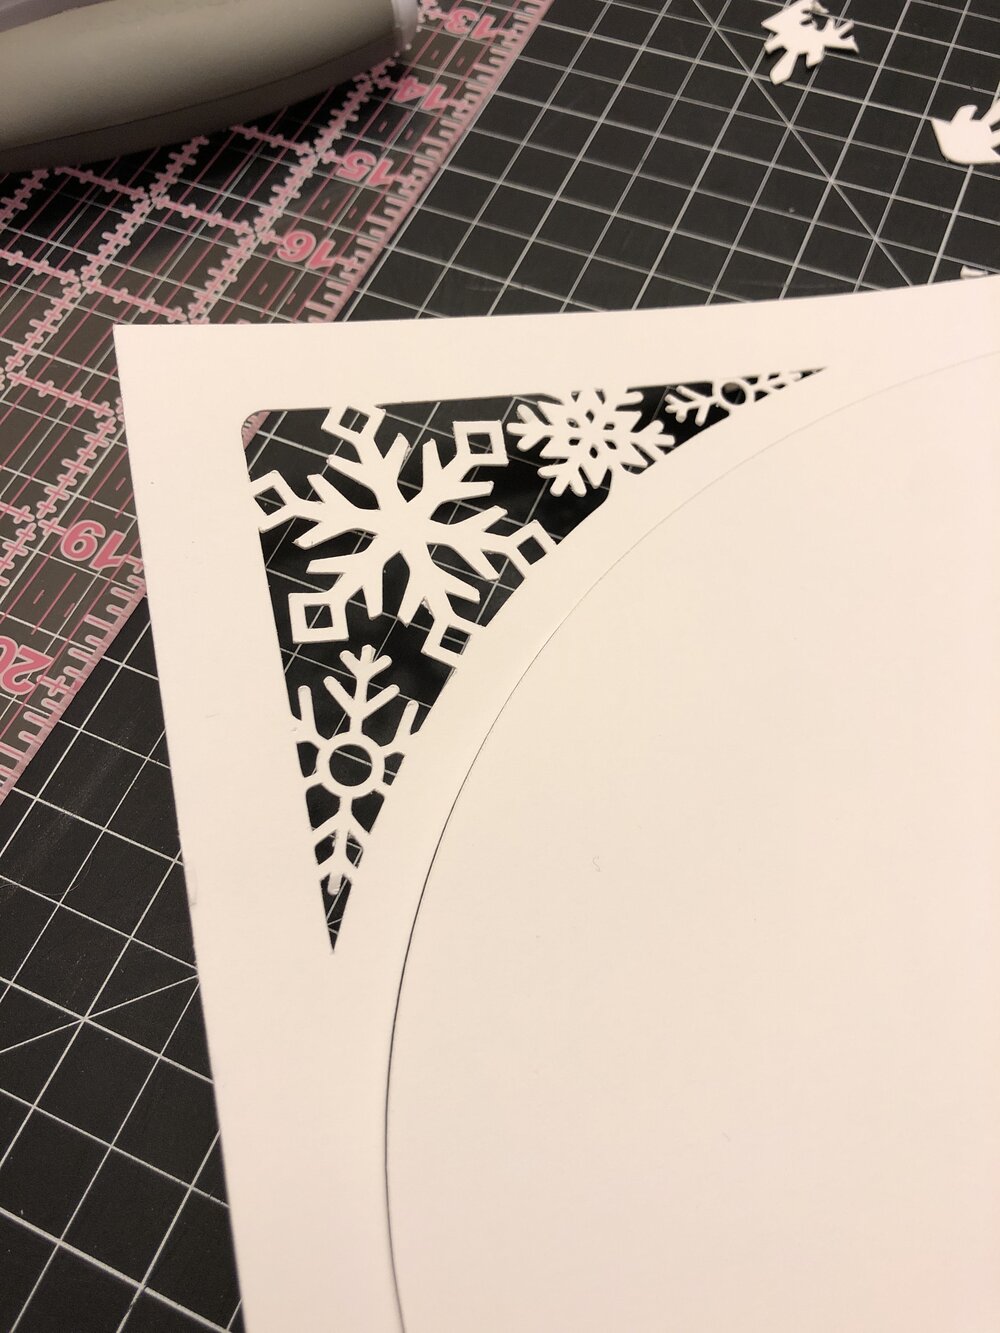
I was using a bit heavier stock for the main frame with the snowflake cutouts and due to the intricate details I was not able to find a setting that cut them all the way through without tearing the paper. So I had to do a lot of hand xacto knife cutting out for that layer. That took A LOT of time, very tedious but the end result was worth it. Everything else on the colorful cardstock cut so easily and cleanly with the Cricut that it made this so fun to work on.
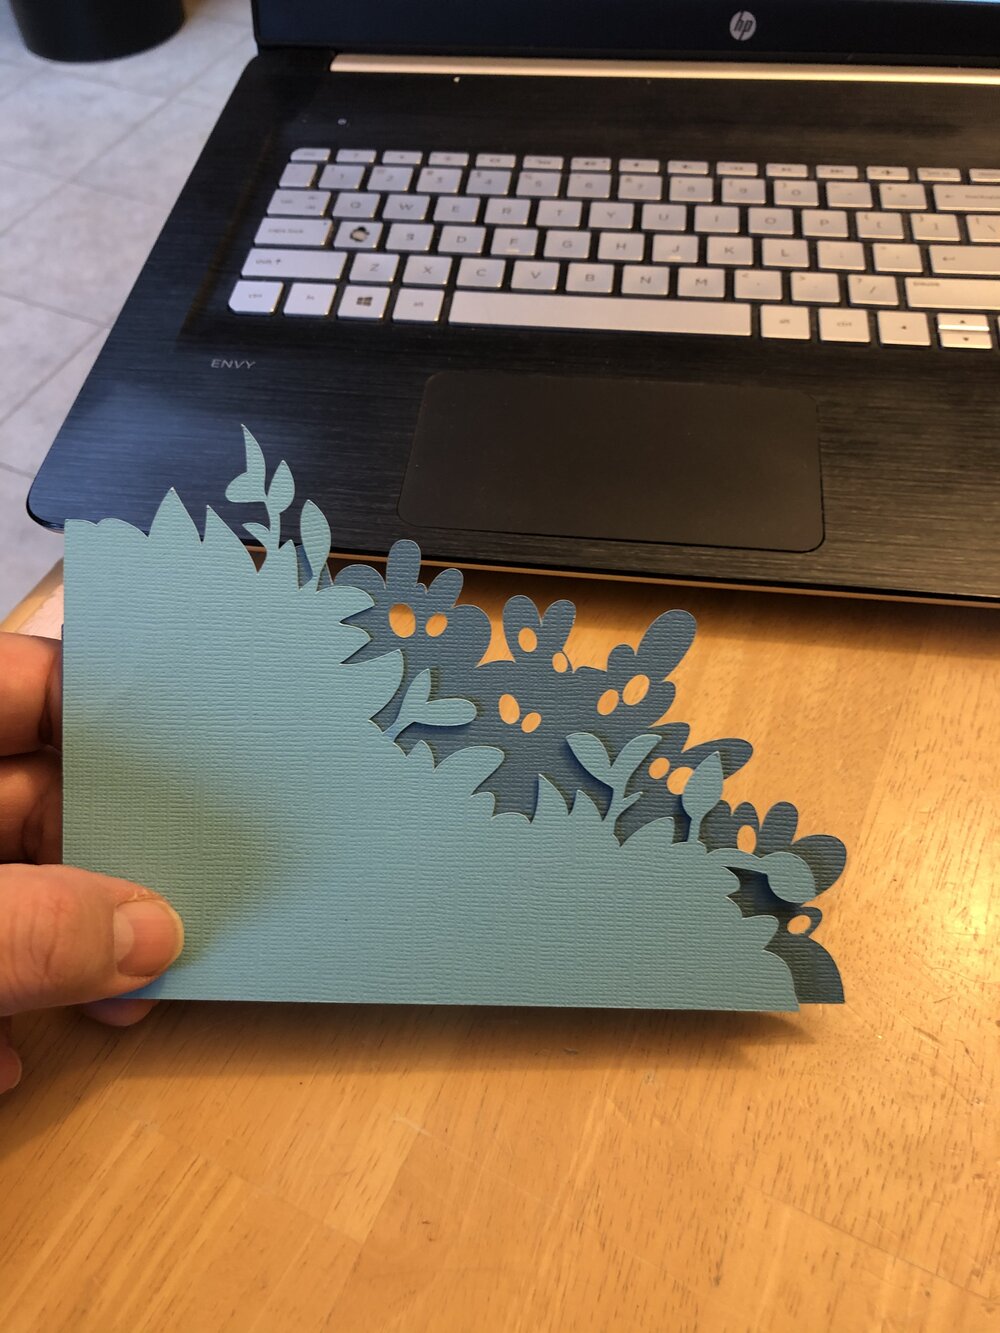
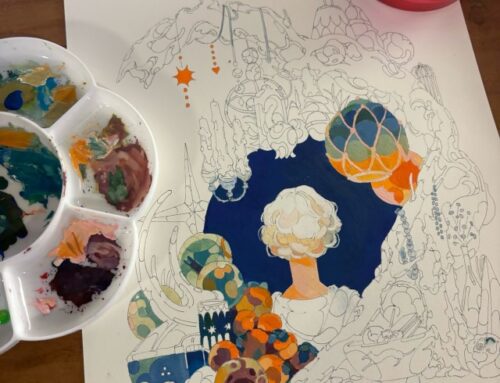
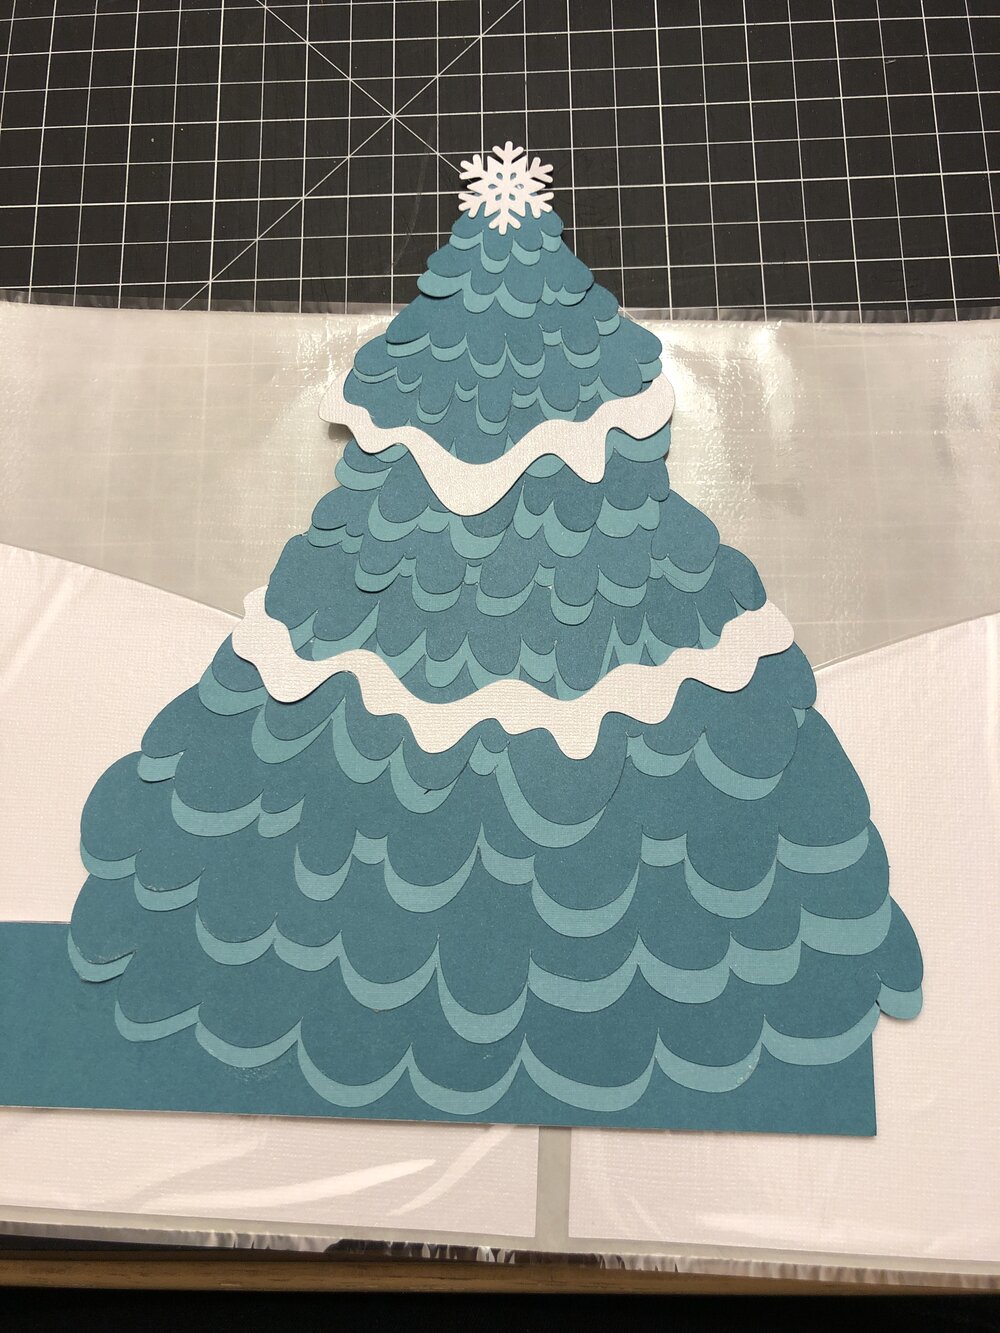
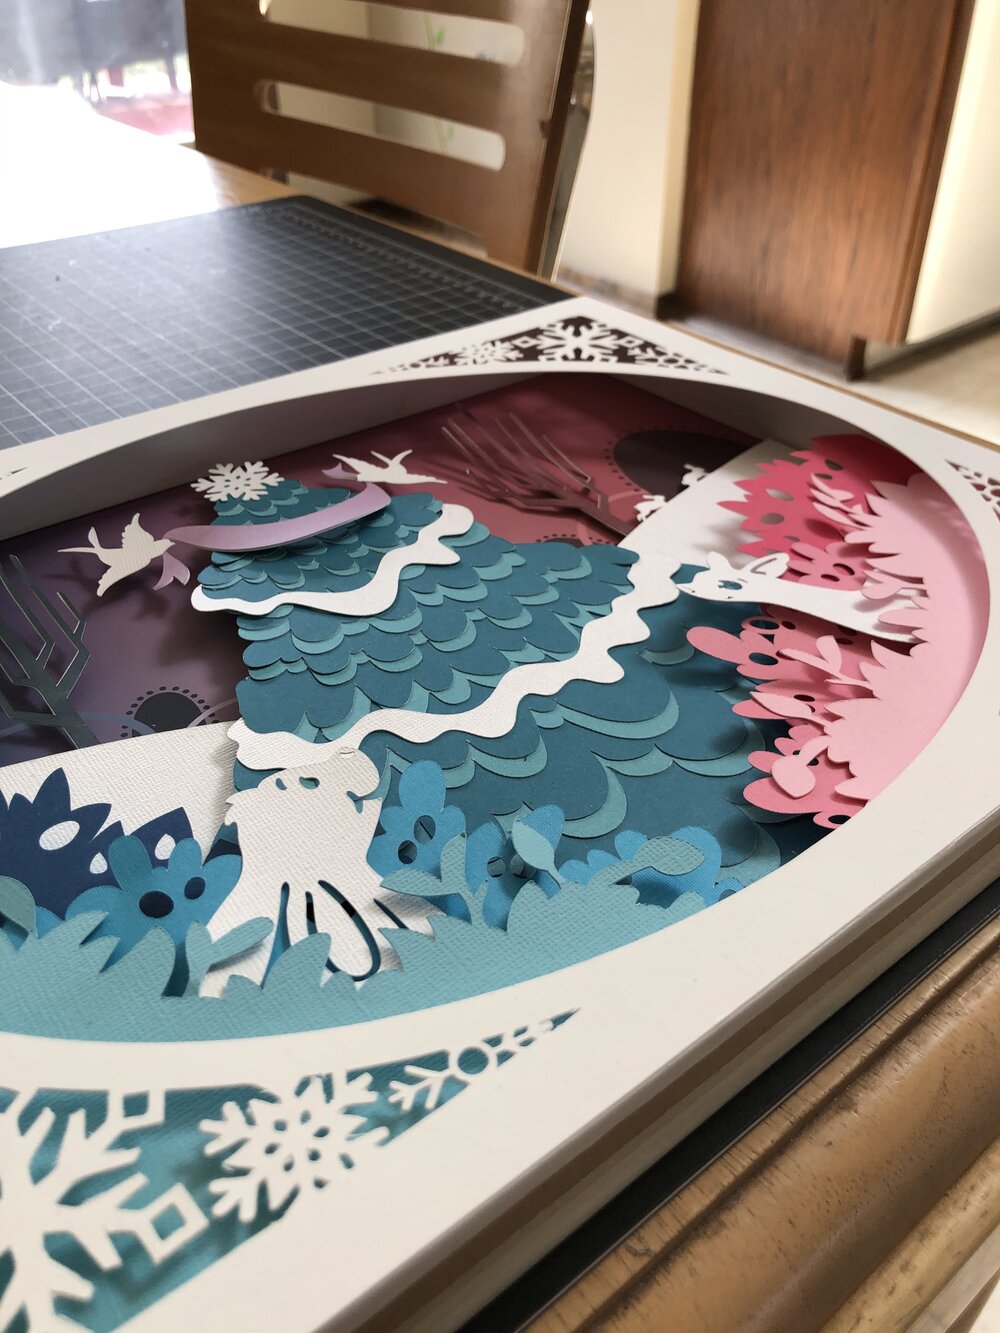
My original design was a solid tree but when that was cutout it looked too plain compared to everything else in the scene. So I went back in and created multiple layers and cut them out of double sided card stock so I could then layer those up and give the branches of the tree more detail and layering dimension.
After all of the piece were cut and ready I hand cut out heavy mat board pieces for each of the pieces. This was so that I could glue the sturdy supporting mat board to the delicate papers. Along with the support this provided it also allowed me to build the spacing between layers to really bring it all to life.
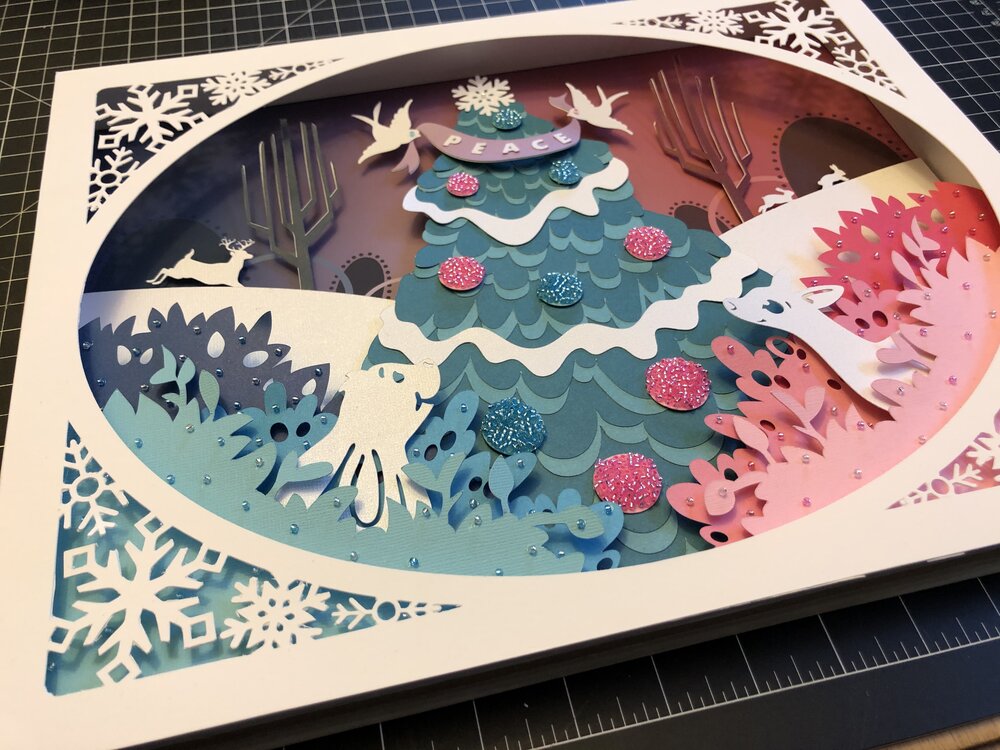
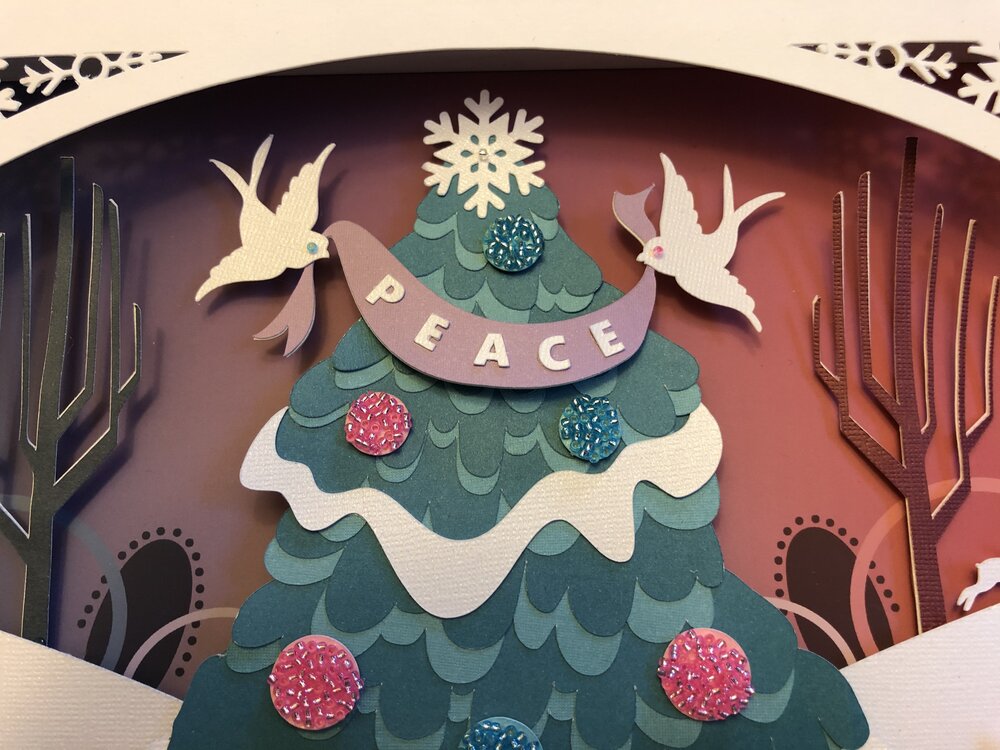
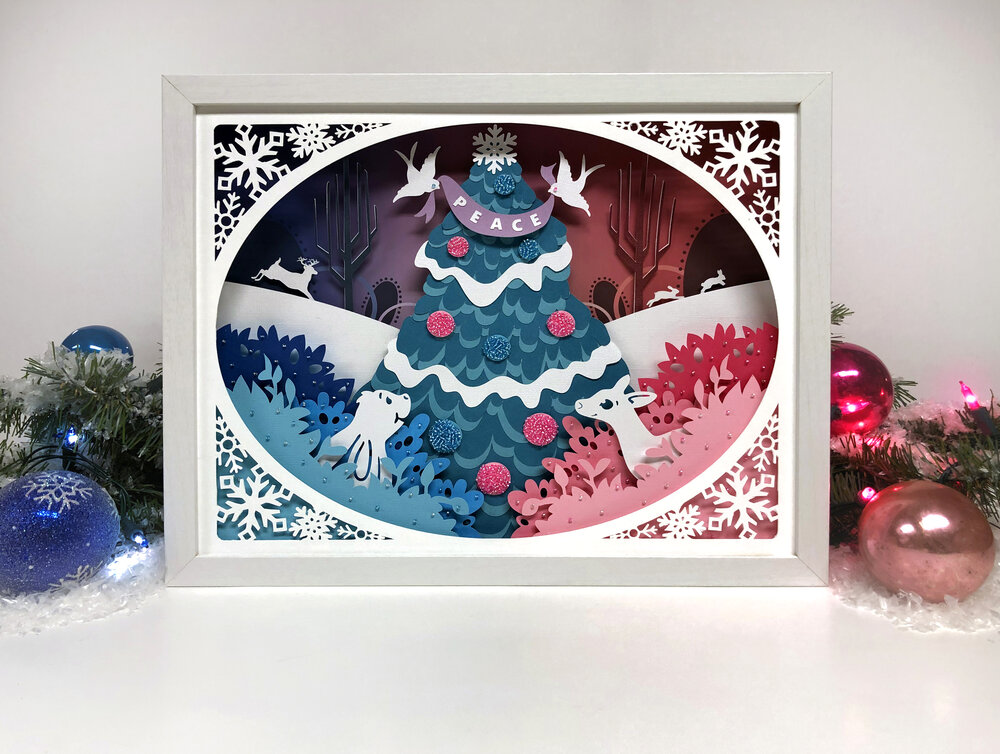
Then once everything was glued and secured in place I was able to go in and add details like beads in the bushes to give the illusion of little holiday lights. I made beaded ornaments to go on the tree. And then placed the word PEACE on the banner the birds are holding up.
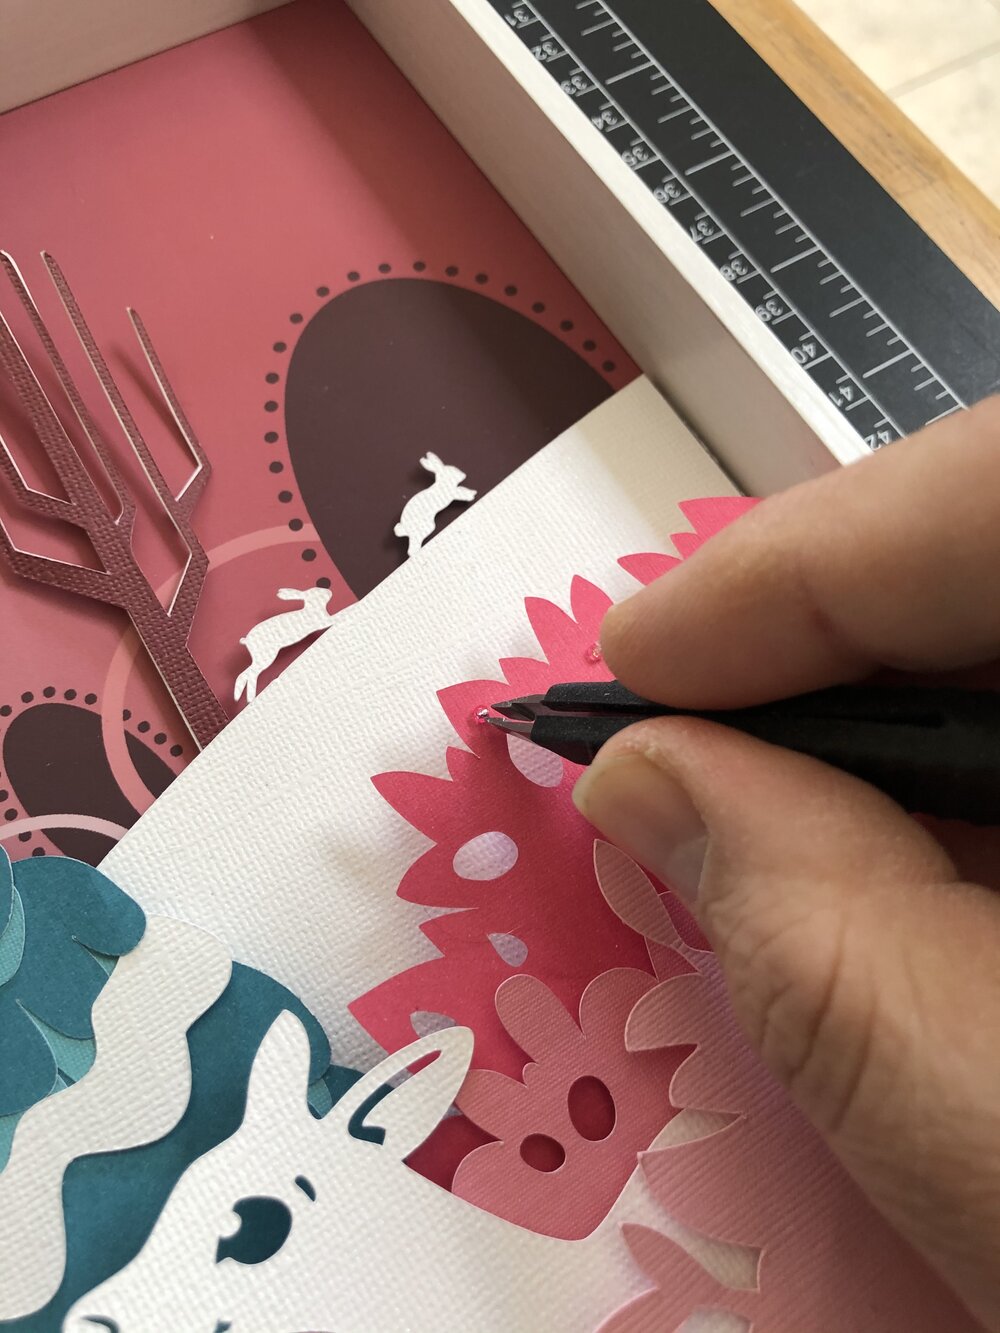


(In that close up photo above, I want to point out how impressed I am with how the cricut handled cutting the small and intricate details of the dashing deer’s antlers. That deer is less that 3/4 inches tall and about an inch wide. So to see those antlers so detailed is just incredible!)
Here are some more close ups before I placed the art into the frame behind the glass.
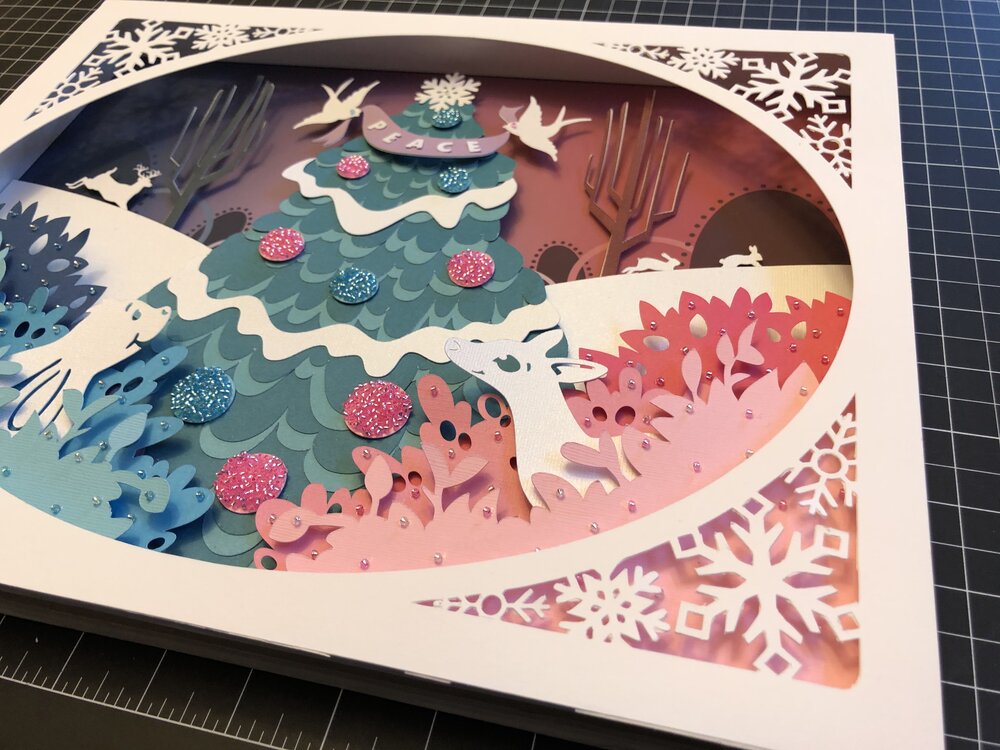

Once all of the details were complete it was time to install the finished artwork into the 11”x14” the shadow box frame.
When deciding on the name for this artwork I thought about the word Peace I had placed on the banner the birds are holding and it made me think of the classic song “Someday at Christmas” …
When we have found what life’s really worth
There’ll be peace on earth…….Someday at Christmas time.
This piece will be on display at The Flower of Life Art Gallery in Lockport,IL. The show opens on Saturday Dec 7th.
If you are interested in purchasing this one of a kind holiday artwork you can contact me for details.
I wish you Peace and a very Merry Christmas.